DestinationProject
Introduction
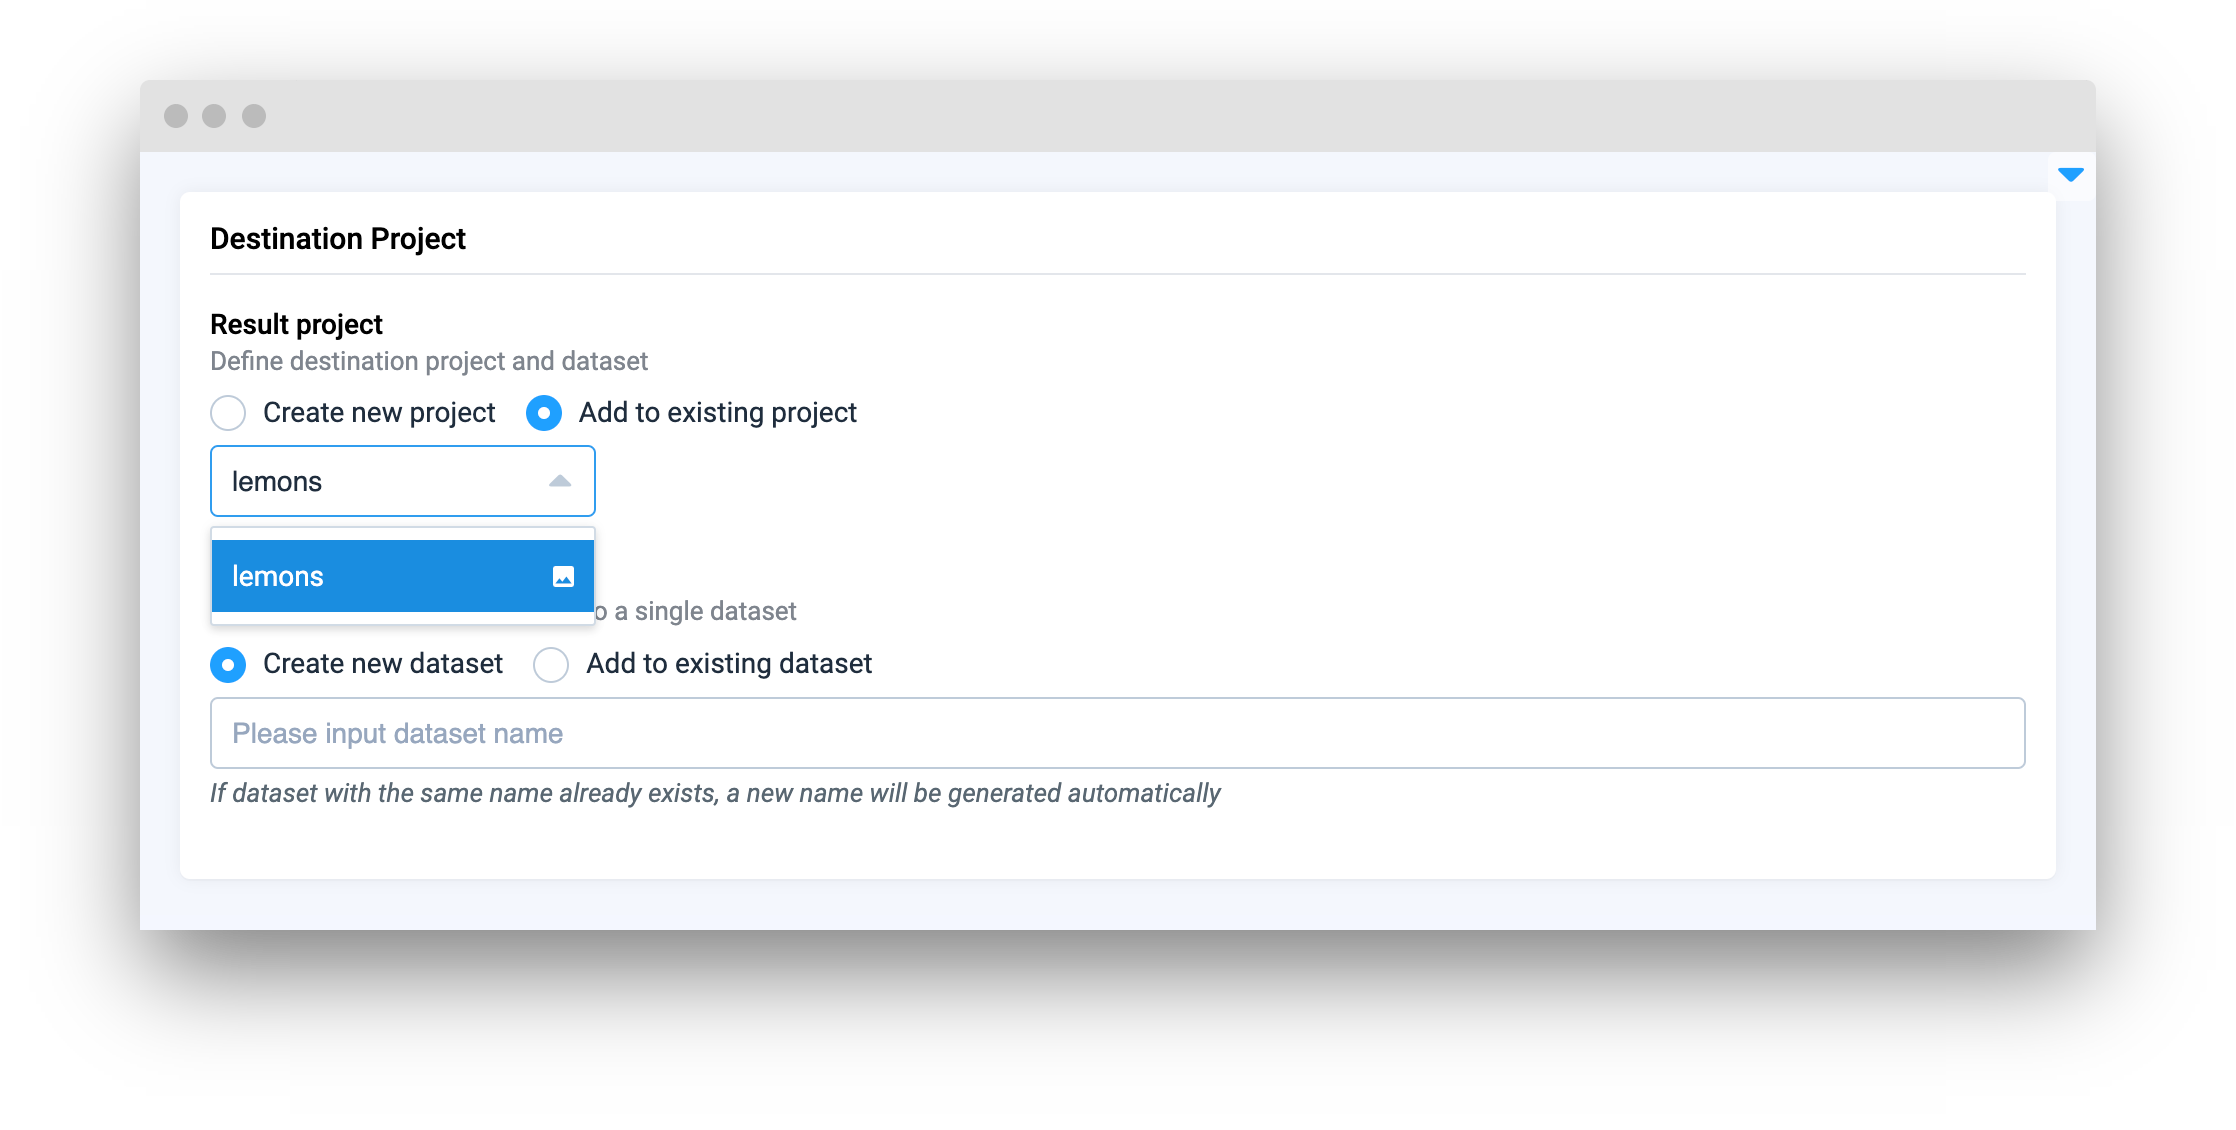
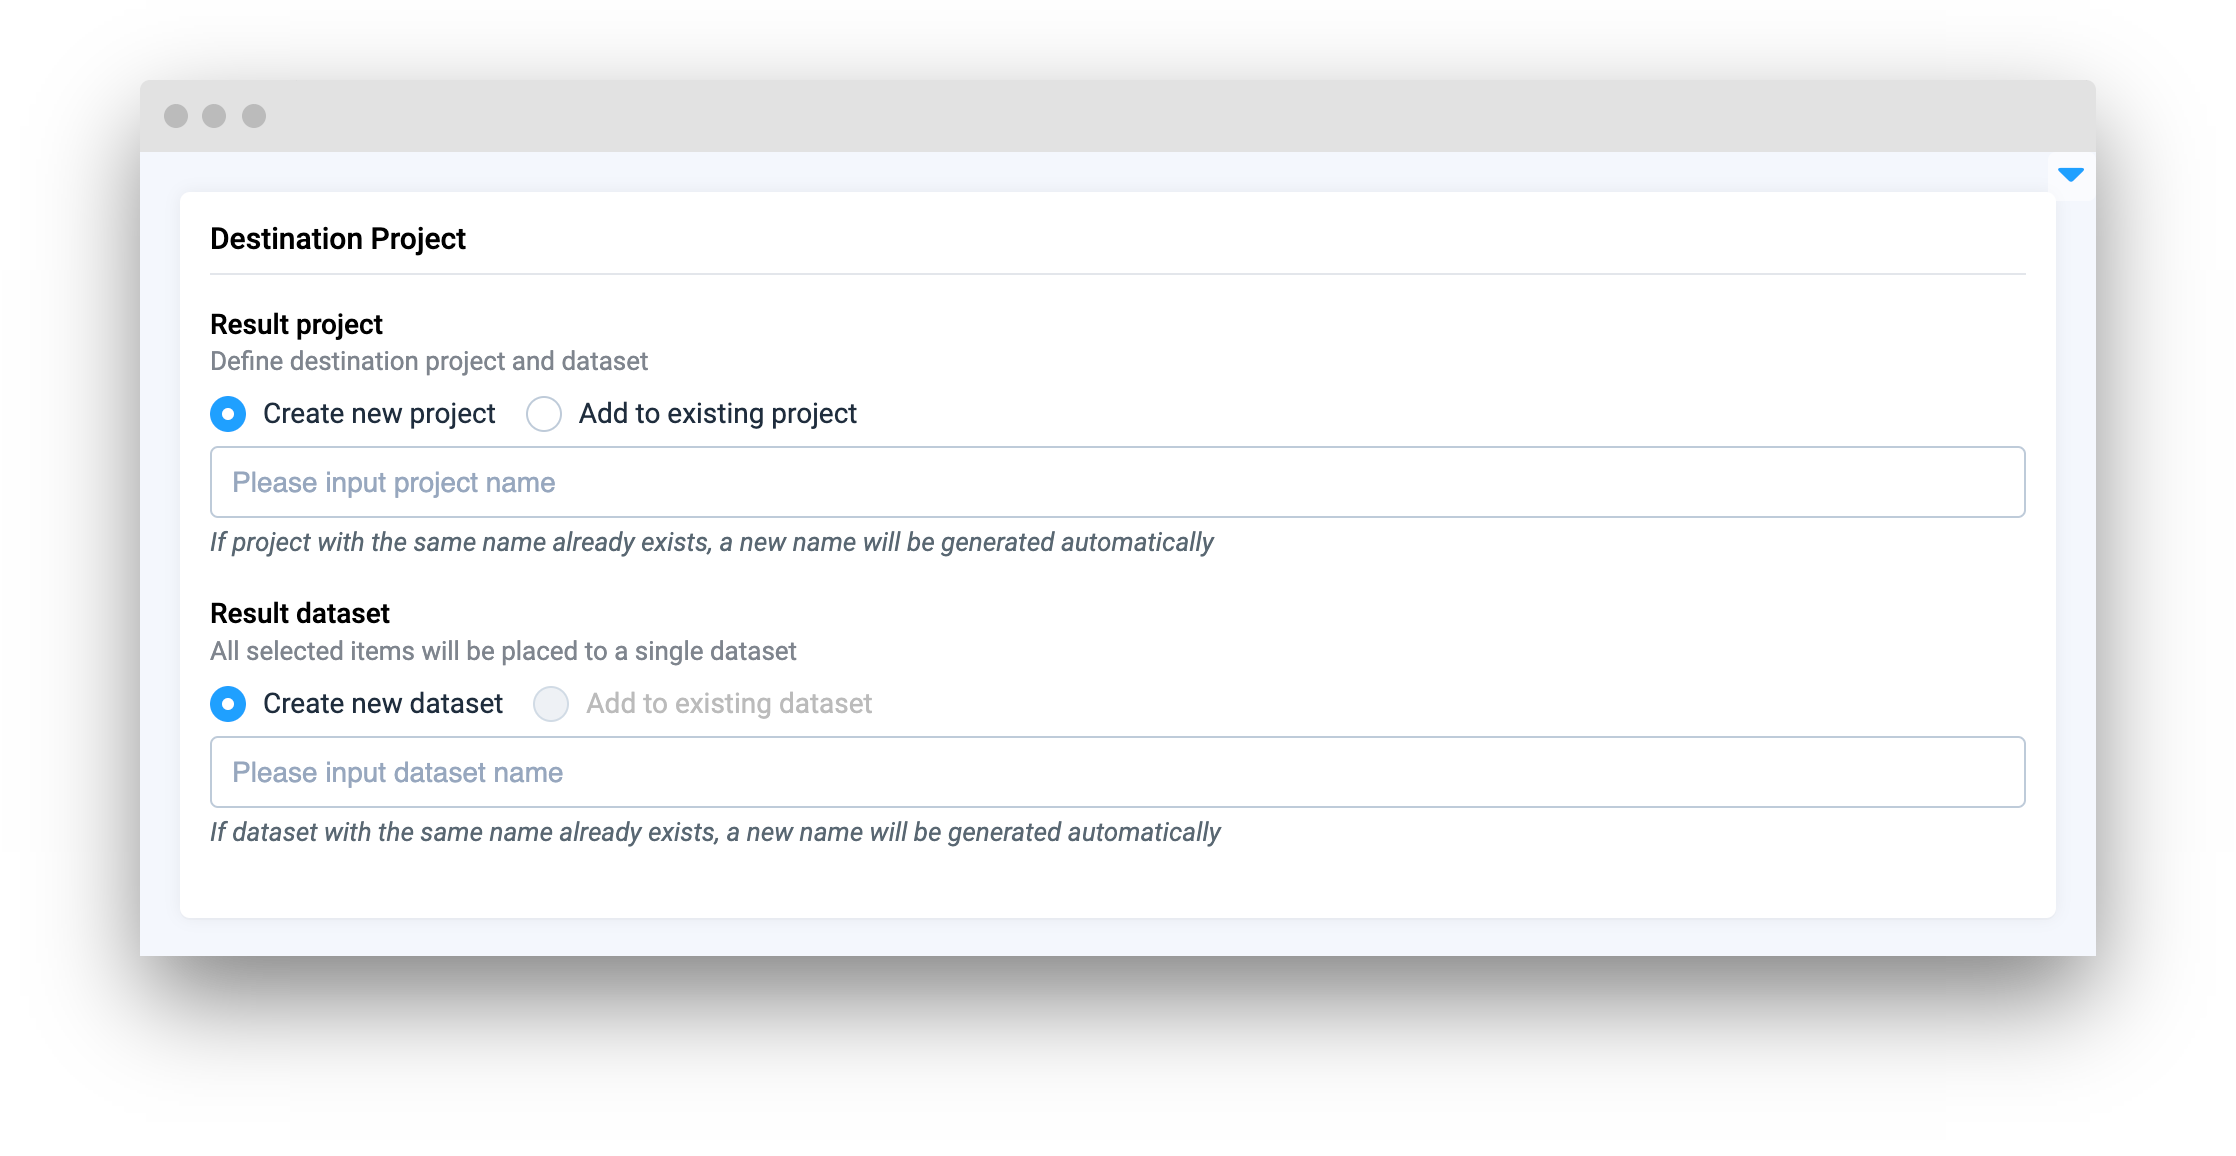
DestinationProject widget in Supervisely provides several options for selecting the destination project and dataset when transferring data. Users can choose between creating a new project or selecting an existing project, as well as creating a new dataset or selecting an existing dataset within the project. DestinationProject also includes an input field where users can enter the name of the destination project or dataset when creating a new one. This flexibility allows users to easily manage and organize their projects and datasets within the platform.
Function signature
Parameters
| Parameters | Type | Description |
|---|---|---|
|
| Workspace ID |
|
| Determine project type available for selection |
|
| ID of the widget |
workspace_id
Workspace ID
type: int
project_type
Determine project type available for selection
type: ProjectType
default value: ProjectType.IMAGES
widget_id
ID of the widget
type: str
default value: None
Methods and attributes
| Attributes and Methods | Description |
|---|---|
| Get selected Project ID if radio input in "Add to existing project" mode. |
| Get selected Dataset ID if radio input in "Add to existing dataset" mode. |
| Get selected Project name if radio input in "Create new project" mode. |
| Get selected Dataset name if radio input in "Create new dataset" mode. |
Mini App Example
You can find this example in our Github repository:
supervisely-ecosystem/ui-widgets-demos/selection/011_destination_project/src/main.py
Import libraries
Init API client
First, we load environment variables with credentials and init API for communicating with Supervisely Instance:
Get workspace_id from environment variables
workspace_id from environment variablesInitialize DestinationProject widget
DestinationProject widgetCreate Button, Text widgets we will use in UI for demo
Button, Text widgets we will use in UI for demoCreate app layout
Prepare a layout for app using Card widget with the content parameter and place widget that we've just created in the Container widget.
Create app using layout
Create an app object with layout parameter.
Add functions to control widgets from code
Last updated