Spatial labels on videos
How to create bounding boxes, masks on video frames in Python
Introduction
In this tutorial, you will learn how to programmatically create classes, objects and figures for video frames and upload them to Supervisely platform.
Supervisely supports different types of shapes / geometries for video annotation:
bounding box (rectangle)
mask (also known as bitmap)
polygon - will be covered in other tutorials
polyline - will be covered in other tutorials
point - will be covered in other tutorials
keypoints (also known as graph, skeleton, landmarks) - will be covered in other tutorials
Learn more about Supervisely Annotation JSON format here.
Everything you need to reproduce this tutorial is on GitHub: source code, Visual Studio Code configuration, and a shell script for creating virtual env.
How to debug this tutorial
Step 1. Prepare ~/supervisely.env file with credentials. Learn more here.
Step 2. Clone repository with source code and demo data and create Virtual Environment.
Step 3. Open repository directory in Visual Studio Code.
Step 4. change ✅ workspace ID ✅ in local.env file by copying the ID from the context menu of the workspace. A new project with annotated videos will be created in the workspace you define:
Step 5. Start debugging src/main.py
Python Code
Import libraries
Init API client
Init api for communicating with Supervisely Instance. First, we load environment variables with credentials and workspace ID:
With next lines we will check the you did everything right - API client initialized with correct credentials and you defined the correct workspace ID in local.env.
Create project
Create empty project with name "Demo" with one dataset "orange & kiwi" in your workspace on server. If the project with the same name exists in your dataset, it will be automatically renamed (Demo_001, Demo_002, etc ...) to avoid name collisions.
Upload video to the dataset on server
Create annotation classes and update project meta
Color will be automatically generated if the class was created without color argument.
The next step is to create ProjectMeta - a collection of annotation classes and tags that will be available for labeling in the project.
And finally, we need to set up classes in our project on server:
Prepare source data
Create video objects
Create masks, rectangles, frames and figures
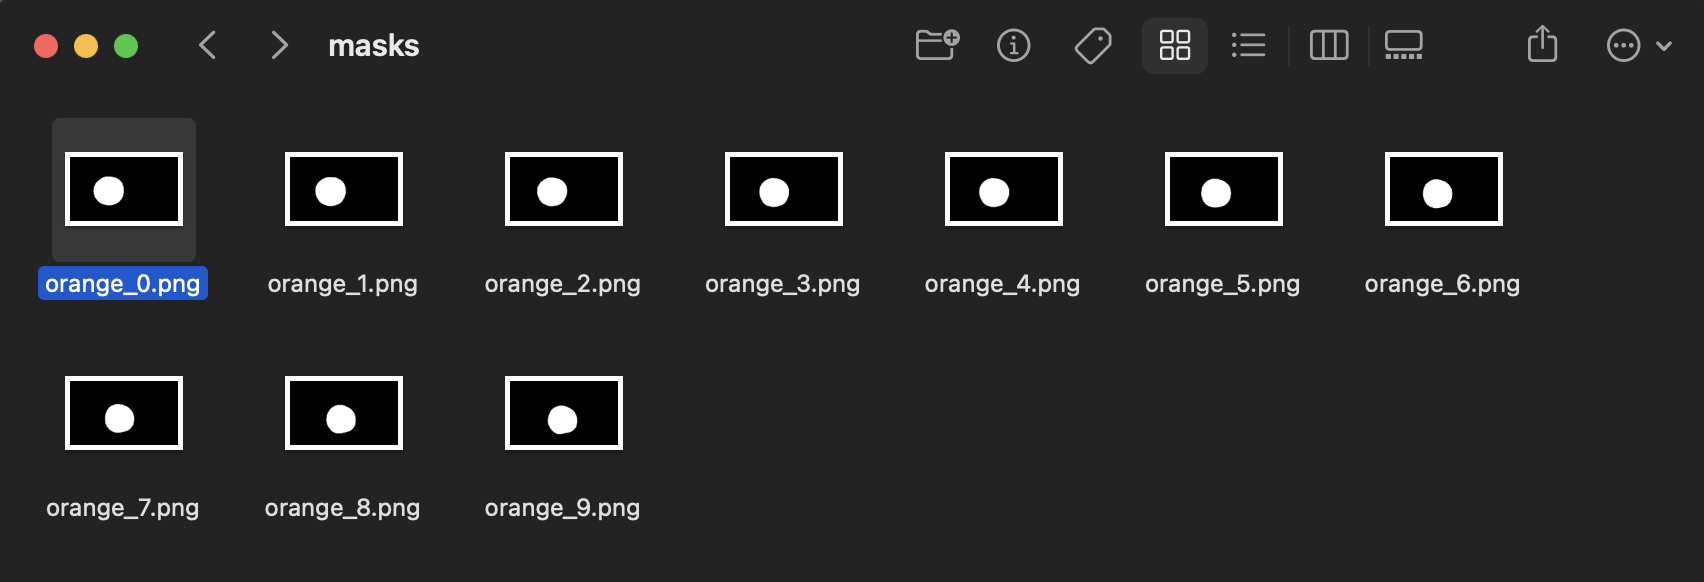
We are going to create ten masks from the following black and white images:
Mask has to be the same size as the video
Supervisely SDK allows creating masks from NumPy arrays with the following values:
0- nothing,1- pixels of target mask0- nothing,255- pixels of target maskFalse- nothing,True- pixels of target mask
Create VideoObjectCollection and FrameCollection
VideoObjectCollection and FrameCollectionGet video file info
Create VideoAnnotation
VideoAnnotationLearn more about VideoAnnotation JSON format.
Upload annotation to the video on server
Download video annotation from server
Note:
key_id_mapis required to convert annotation downloaded from server from JSON format to Python objects.
Learn more how to download video from Supervisely to local directory by id.
In the GitHub repository for this tutorial, you will find the full python script.
Recap
In this tutorial we learned how to
quickly configure python development for Supervisely
how to create a project and dataset with classes of different shapes
how to initialize rectangles, masks for video frames
how to construct Supervisely annotation and upload it with an videos to server
Last updated